Are you finding it a bit challenging to get your Whirlpool washer to run smoothly? You might be hearing strange noises, or it’s not spinning as efficiently as before. Fear not, as we’ve got you covered. In this guide, we’ll walk you through the process of lubricating the bearings in your Whirlpool washer, ensuring it operates as quietly and efficiently as the day you bought it.
Before we dive into the step-by-step instructions, let’s understand why this maintenance task is essential and how it can extend the life of your washing machine.
Why Lubricating Bearings Matters
Imagine the bearings in your washer as the unsung heroes, working tirelessly behind the scenes. They support the drum’s movement during the wash cycle, and over time, they can wear out or become dry, leading to friction and, eventually, damage. When the bearings are well-lubricated, they ensure a smoother, quieter operation and prevent excessive wear and tear on your machine.
Lubricating the bearings is a cost-effective way to keep your washer in top condition, avoid costly repairs, and reduce energy consumption. By performing this maintenance, you not only extend the life of your appliance but also contribute to a more sustainable household.
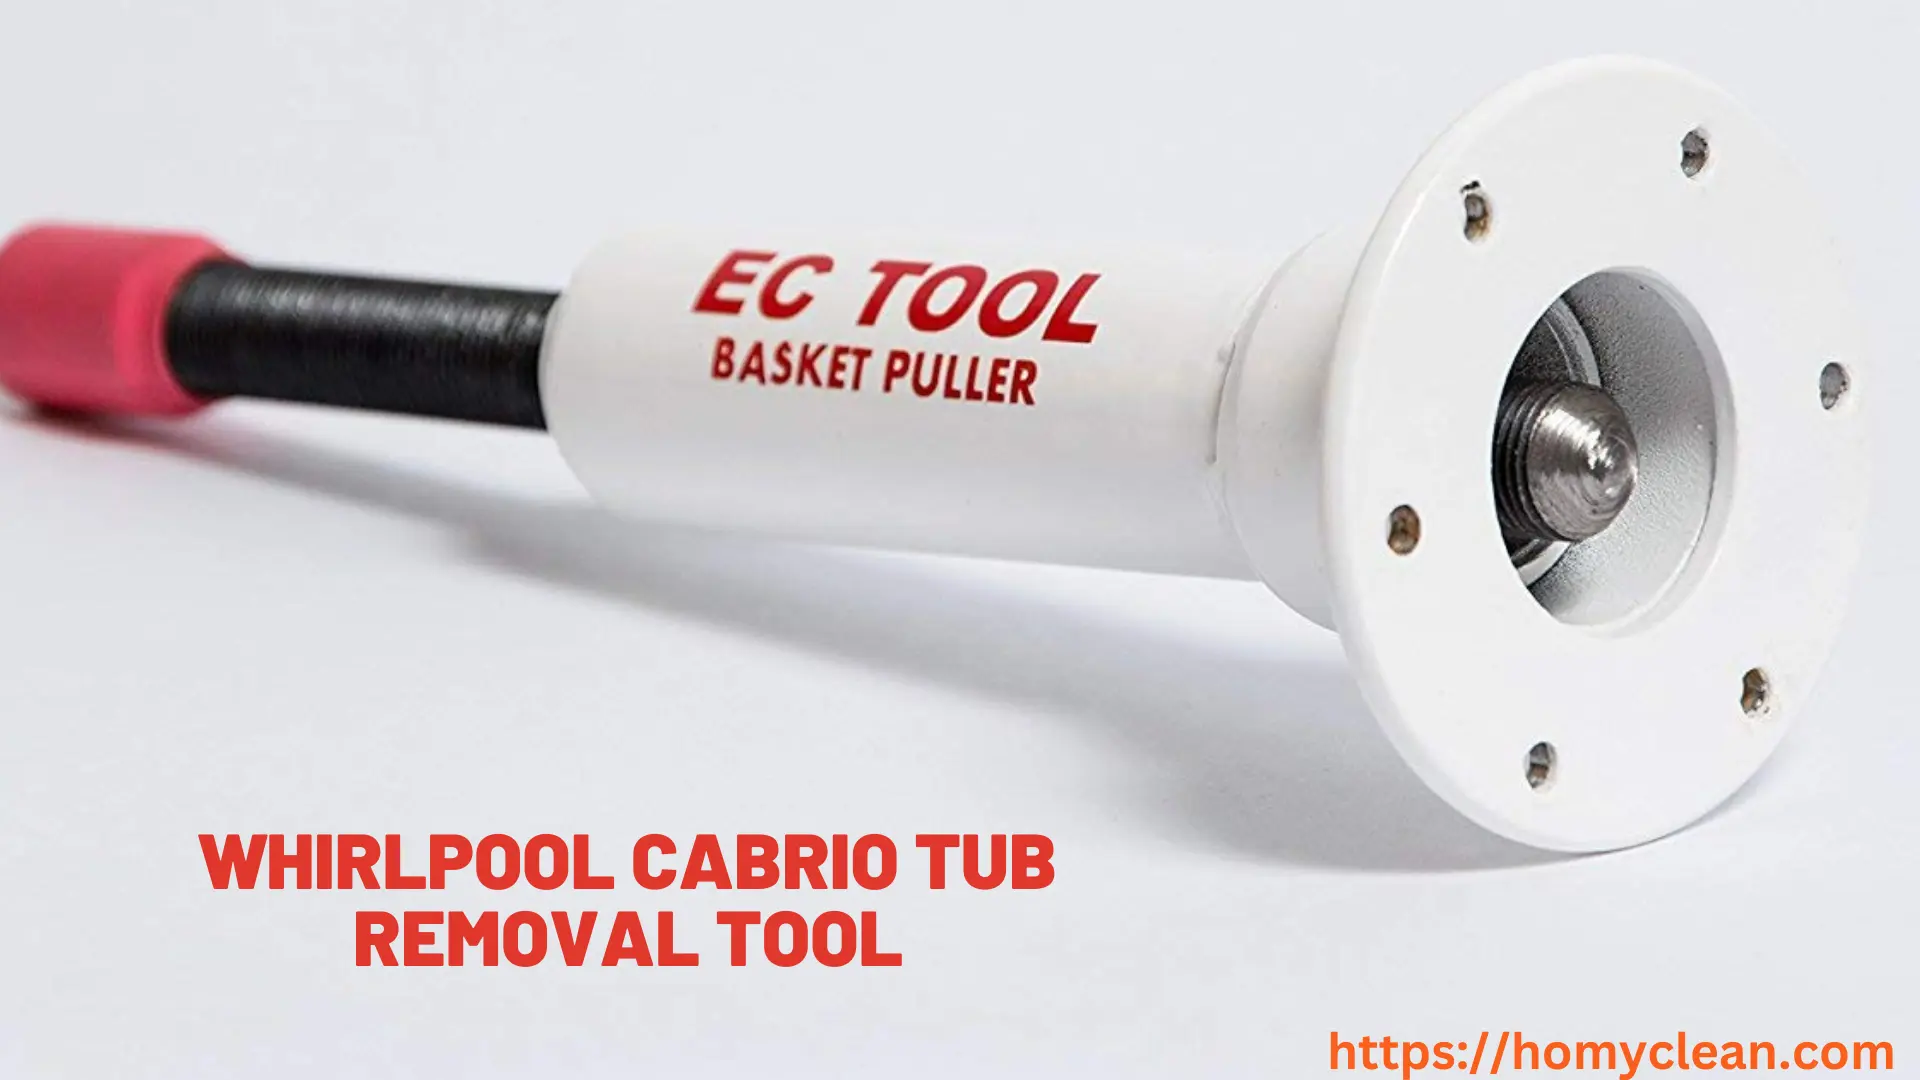
Gathering Your Supplies How to Lubricate the Bearings in a Whirlpool Washer
Now that you understand the importance of lubricating your Whirlpool washer’s bearings, it’s time to get started. Here’s what you’ll need:
Materials:
- High-quality bearing grease (compatible with washing machines)
- A socket wrench or adjustable pliers
- A putty knife or a flathead screwdriver
- A towel or rag
- A replacement gasket (if necessary)
- A user manual for your washer (if available)
Safety Precautions:
Before you begin, always remember to unplug your washer to ensure your safety. Lubricating the bearings involves some disassembly, so if you’re unsure about any step, it’s a good idea to consult your washer’s user manual or seek professional assistance.
4 Steps on How to Lubricate the Bearings in a Whirlpool Washer
Step 1: Access the Bearings
Locate and remove the back panel of your washer. This will give you access to the bearings. You might need to use a socket wrench or adjustable pliers to remove the screws holding the panel in place. Make sure to keep the screws in a safe place so you can reattach the panel later.
Step 2: Remove the Drum
After removing the back panel, you’ll need to take out the drum. This might require disconnecting the drive belt and any wiring attached to it. Refer to your user manual for guidance on how to do this safely. Once these components are detached, carefully remove the drum from the machine.
Step 3: Lubricate the Bearings
Now comes the main part: lubricating the bearings. Use a putty knife or flathead screwdriver to gently pry the seals off the bearings. Once the seals are removed, you’ll have access to the bearings themselves.
Take your high-quality bearing grease and apply it to the bearings. Be generous but not excessive – a little grease goes a long way. Make sure to evenly coat the bearings to ensure they’re adequately lubricated.
Step 4: Reassemble Your Washer
Once you’ve lubricated the bearings, reverse the steps you took to disassemble your washer. Reattach the drum, connect the drive belt and wiring, and secure the back panel back in place with the screws. Make sure everything is snug and secure before plugging your washer back in.
A Real-Life Example
Let me share a real-life example to illustrate the importance of this maintenance task. A few months ago, Sarah, a busy mother of two, noticed that her Whirlpool washer was producing a loud, unsettling noise during the spin cycle. She feared a costly repair was on the horizon. However, after a bit of research, she found our guide on lubricating the bearings.
By following the steps we’ve outlined, Sarah successfully restored her washer’s smooth and quiet operation, and she no longer dreads laundry day. What could have been a significant expense turned into a simple and cost-effective DIY project, thanks to a little maintenance.
Conclusion
Learning how to lubricate the bearings in Whirlpool washer is a valuable skill that can extend the life of your appliance, save you money on repairs, and contribute to a more sustainable household. By following our step-by-step guide and taking the time to care for your washer, you’ll enjoy many more years of clean and fresh laundry without the worry of unexpected breakdowns.
Remember, regular maintenance is the key to a well-functioning washer, and it’s a task you can easily accomplish without the need for professional help. So, don’t let the fear of a noisy or inefficient washer bother you any longer. Get started on lubricating your Whirlpool washer’s bearings and enjoy a quieter, more efficient laundry experience.
Now, it’s your turn to give your Whirlpool washer the TLC it deserves. Happy washing!
Related Topics: